Showing posts with label diy. Show all posts

Tuesday, June 21, 2016

Fiesta Paper Flowers


Last week Mel hosted a bridal shower for one of her friends. This time the theme was Fiesta, so we gathered our ideas and made it come to life. Here I will show you how to make the paper flowers we used to display at the party.  


The first step is to take four sheets of tissue paper and fold it accordion style.


At about two inches from the edge, staple the fold.


At both ends cut a scalloped design to give the flower petals.


Gently separate each piece of paper from the rest.


Lift up the rest from the other end.


Repeat each step until you have four.


Grab a paper plate and use your glue gun to start gluing each part together. 


You will end up with a nice puffy flower


For easy hanging, I punched two holes on both the bottom and top of the plate. I then threaded a piece of string though and tied the ends.


You can use the same technique and experiment with different colors and sizes. 
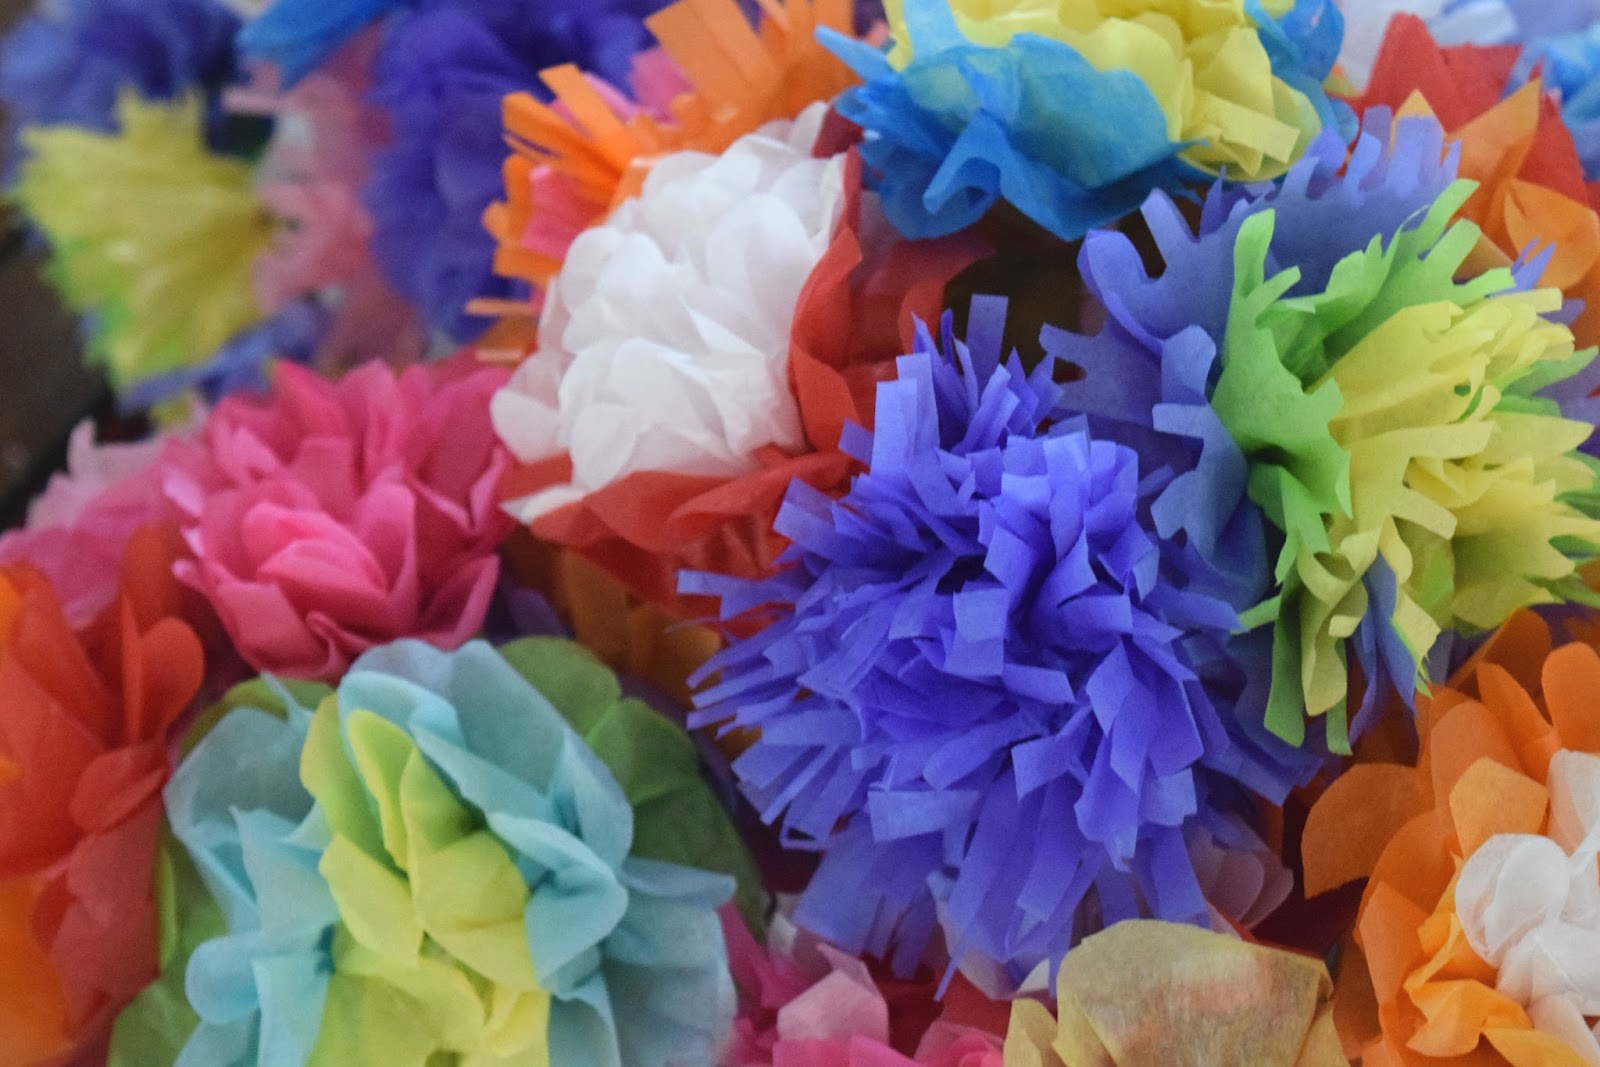


This was the final look for the party. These flowers make an awesome background for pictures. Hope you enjoyed this quick and easy project.

Stay tuned for more pictures of the Fiesta Bridal Shower. 

Follow us on instagram: @catchherdreaming


Thursday, August 27, 2015

Bridal Shower Decor

Last month we decorated a dear friend's bridal shower. We wanted it to be simple and elegant. We really enjoyed making many of the décor pieces. Here's a look at how it all turned out:


Our centerpieces consisted of golden books with mason jar flower bouquets.


The treat table was made up of many small details that brought the look all together. We wanted it to be fairytale inspired so we added a rose under a dome.

These Oreo pops were very simple to make and went great with the theme. 

Finally the cake I made a great centerpiece for the treat table.
We hope this post inspires you to create your own décor pieces for a bridal shower.


Friday, August 14, 2015

Oreo Pops Diy


Lately there has been a trend of cake pops, which I think are super cute. However they can be a little complicated to make. Oreo Pops are a super-fast and easy alternative to cake pops which also look cute and are perfect for any party.

We made these for one of my best friends bridal shower, and not only did they add a cute, elegant touch to our desert table, but they were also a huge success.

Here is what you will need:

Oreos
Candy melts in your choice of color
Cake pop sticks
Sprinkles of your choice

 
Start by melting the candy melts as directed in the package in the microwave. Make sure you are using a plastic spoon to mix the candy melts and make sure you don’t over heat them.  We used both pink and white candy melts because those were the colors of the bridal shower.
Next open up your Oreo, make sure to do it slowly, you don’t want to break the cookie.
Then add a little bit of the candy melt in the middle of the cream section of your cookie and place the stick on top of it. Then carefully place the other half of the cookie back into place
And you are done! It's super easy and fast to make.
Be sure to follow us on instagram @catchherdreaming for more shop and blog updates!


Monday, August 3, 2015

Golden Books Bridal Shower Diy

 
This is the first part of our Bridal Shower planning series. This past month we celebrated our dear friends bridal shower and planned, decorated, and even made the cake for the shower. I loved how everything turned out and it felt good to say we made everything ourselves. It was simple yet elegant with gold and pink as the main colors. Here's one of my favorite projects we did for the party, and I love how I can still use them as everyday home décor and for other parties in the future.
 
For this Golden Book DIY you will need the following:
Gold spray paint- $2.99 Walmart
Old Hardcover Books- .50-$3.00 Yard sales/ thrift stores
 
 
We wanted to have these books be our centerpieces so we went with a big book on the bottom and placed smaller ones on top. You want to make sure the pages are all intact and the edges are in good condition, otherwise you'll end up with a highly noticeable damaged, golden book.

 
Spray away. It's that simple. Just make sure you allow it to fully dry or else your fingerprints will show up on the surface. It amazes me how an old book can change into something elegant looking in an instant. Gold spray paint does make everything better!
 
 
I used all these items as décor pieces that I will be showing on later posts
Cardboard Letters-$2.50 on sale Hobby Lobby
Little Love sign- $2.99 Hobby Lobby
Mason Jars- .99
 
.
 
You can add Glitter if you would like for a special touch.


Stay Tuned for more DIY ideas from the bridal shower.
Follow us on Instagram for updates- @catchherdreaming


Thursday, April 23, 2015

How to plant cacti

I have to admit I'm a plant hoarder,more like a cactus hoarder. I can't get enough cacti and I'm not willing to stop buying them. They are just so unique and cute I just can't get over them! So you might wonder what the best way to plant them in bigger pots without having your fingers poked by the spines, because lets face it you have to love cacti from a distance. I've had several cacti attacks so here's my simple way to help you plant your cacti without getting hurt!


You will need the following:
Cacti/succulent soil mix
Tongs 
Garden gloves
A planter/pot
A hand shove
A watering can
Cute cacti

This first step is optional but important if your planter does not have any drainage. Fill the bottom of the planter with sand or small rocks. This will help consume water and keep your plant from rotting due to over-watering. When it comes to cacti, I prefer to use a planter with drainage and recommend you do as well especially if its your first time having a cactus. 

 Put on your gloves  and grab your hand shovel to make a hole in your planter.  Then grab your tongs and place them over the plant. Make sure you only use them for plants and not food! You want to wiggle the plastic pot and push the plant until you get it out like above. If you are afraid of smashing the spines of the cacti, you can place the tongs on the root part of the plant and gently place it in the pot.


Place your cacti into the hole you made and adjust it with the tongs. Add more soil surrounded the plant.


I added rocks around my plant to keep my dogs from eating the soil and poking themselves with the spines but this step is optional. 


There is a variety of cacti species out there and each have different spine types. Some are more hurtful than others, just make sure you take precaution when handling them. Always use tongs to keep your hands and gloves away from cacti, gloves are not always thick enough and can end up being filled with spines. Don't get intimidated by the spines, you can enjoy your cacti from a distance!
 Follow us on instagram @catchherdreaming and let us know if you have any tips on planting cacti.


Friday, January 9, 2015

Glitter Letter Sign Diy

 As the new year starts I wanted to share with you all a diy project that can motivate you in this year. I decided to choose the word Dream to go into my room. Let this new year be filled with dreams coming to life. As my pastor always mentions "If you are going to dream, you might as well dream big" Not long ago was Catch Her Dreaming was only an idea, and although I still see huge plans for Catch Her Dreaming, I'll never stop dreaming, hence the name of this blog. So this year I want you to not be afraid and to believe your dreams will come to pass. It may not all happen the way you want or right at this moment but there will be progress. I look back to see how far I've come with Catch Her Dreaming and although it may not be what I expected, it's far beyond an idea on a page of a notebook. With that said, here's how you make this Glitter Dream sign:


You will need cardboard letters, you can make them or buy them I found mine at Hobby Lobby and got each letter on sale for only $1. You will also need glitter, and a spraypaint, gluestick, and a sponge. 


Pick out the letters you want for your sign and spray paint them the color of your choice.


Allow the letters to dry a few hours before starting this next step. 


Apply glue in small sections over the letters this way the glue doesn't dry too fast.


Next sprinkle the glitter over the letters and spread with the sponge going over the glue. Repeat this until you cover the entire letters.


Some areas might look patchy you can go over them with more glue or leave it as it is. 


Since the letters don't come with a wall hanger I made my own using a small piece of ribbon and a push pin. 

I hung my sign over my dream/inspiration board. I hope you make your own sign and if you do please tag us on instagram @catchherdreaming we would love to see! Happy New Year and  
Until next time!
 photo poooooooooo_zps491c80aa.png